Pinhole Camera
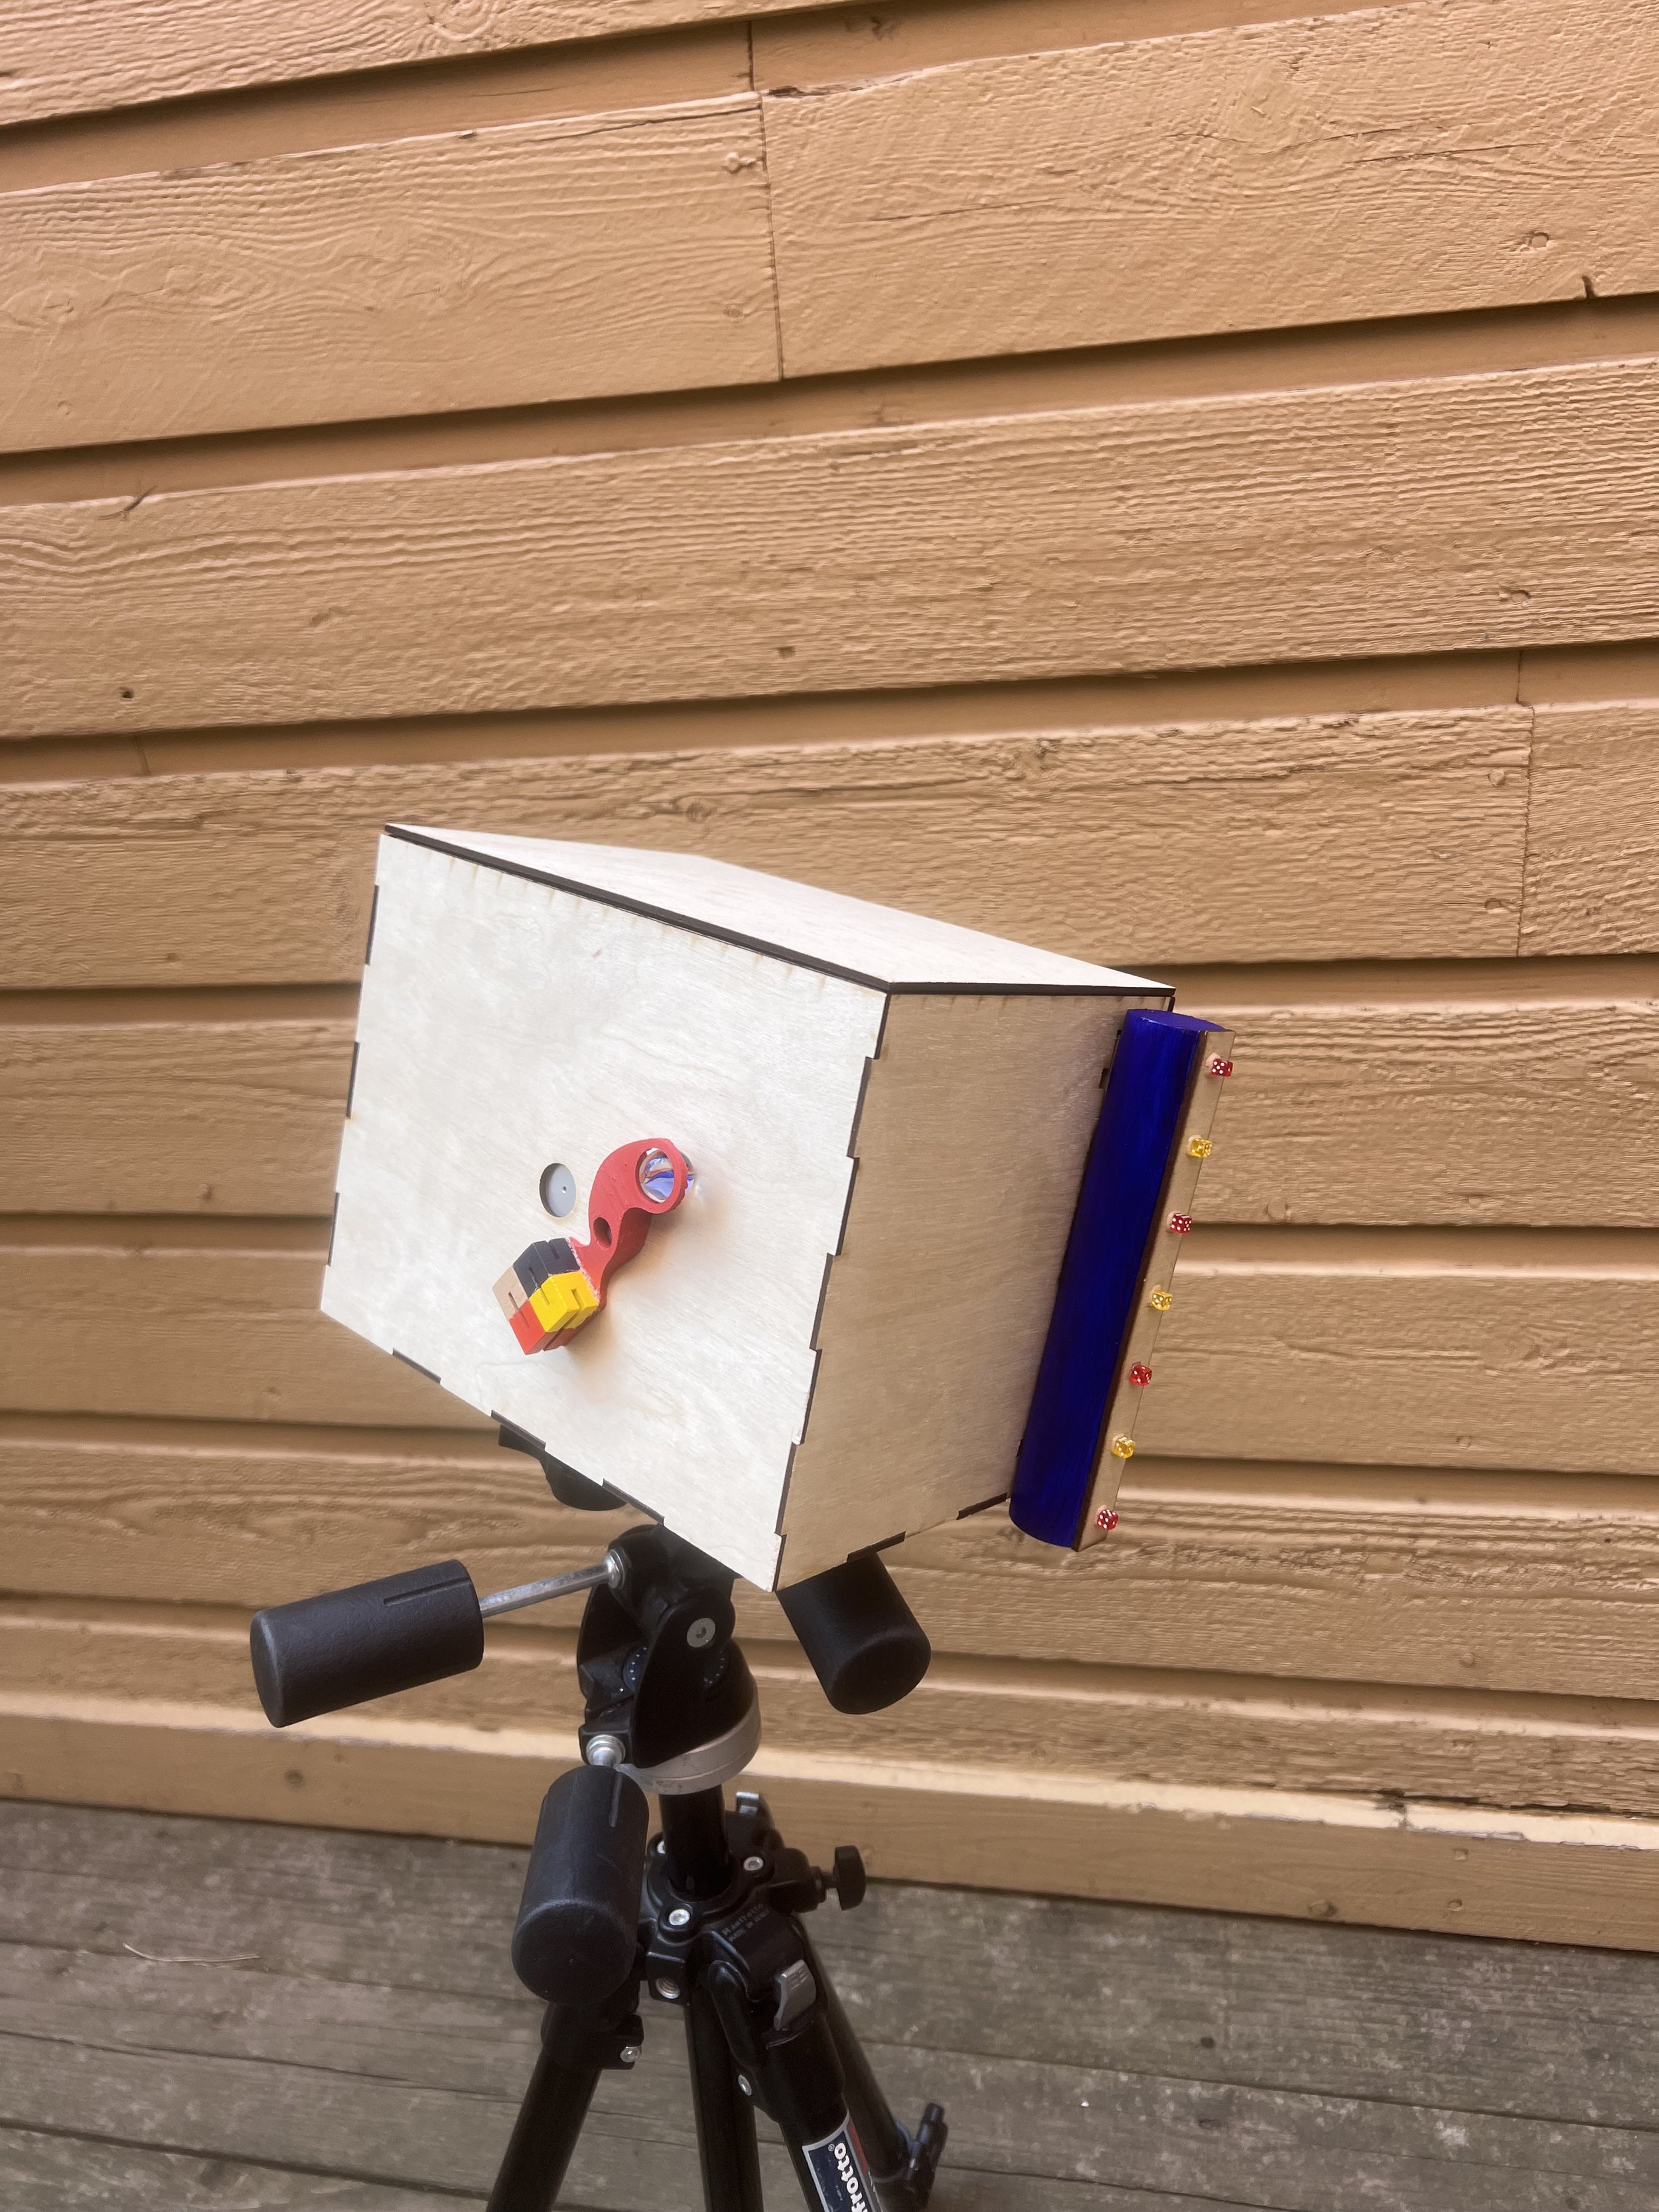
To explore analog methods of photography and complete a project for my Aesthetics of Design class, I designed and built a pinhole camera in a toyshop “iSpy” aesthetic.


Research
Conducted extensive self-guided research on the principles of the “camera obscura” effect and its application in pinhole camera design
Gained a deep understanding of the physical phenomena underlying image formation, including light behavior, aperture size, and focal length
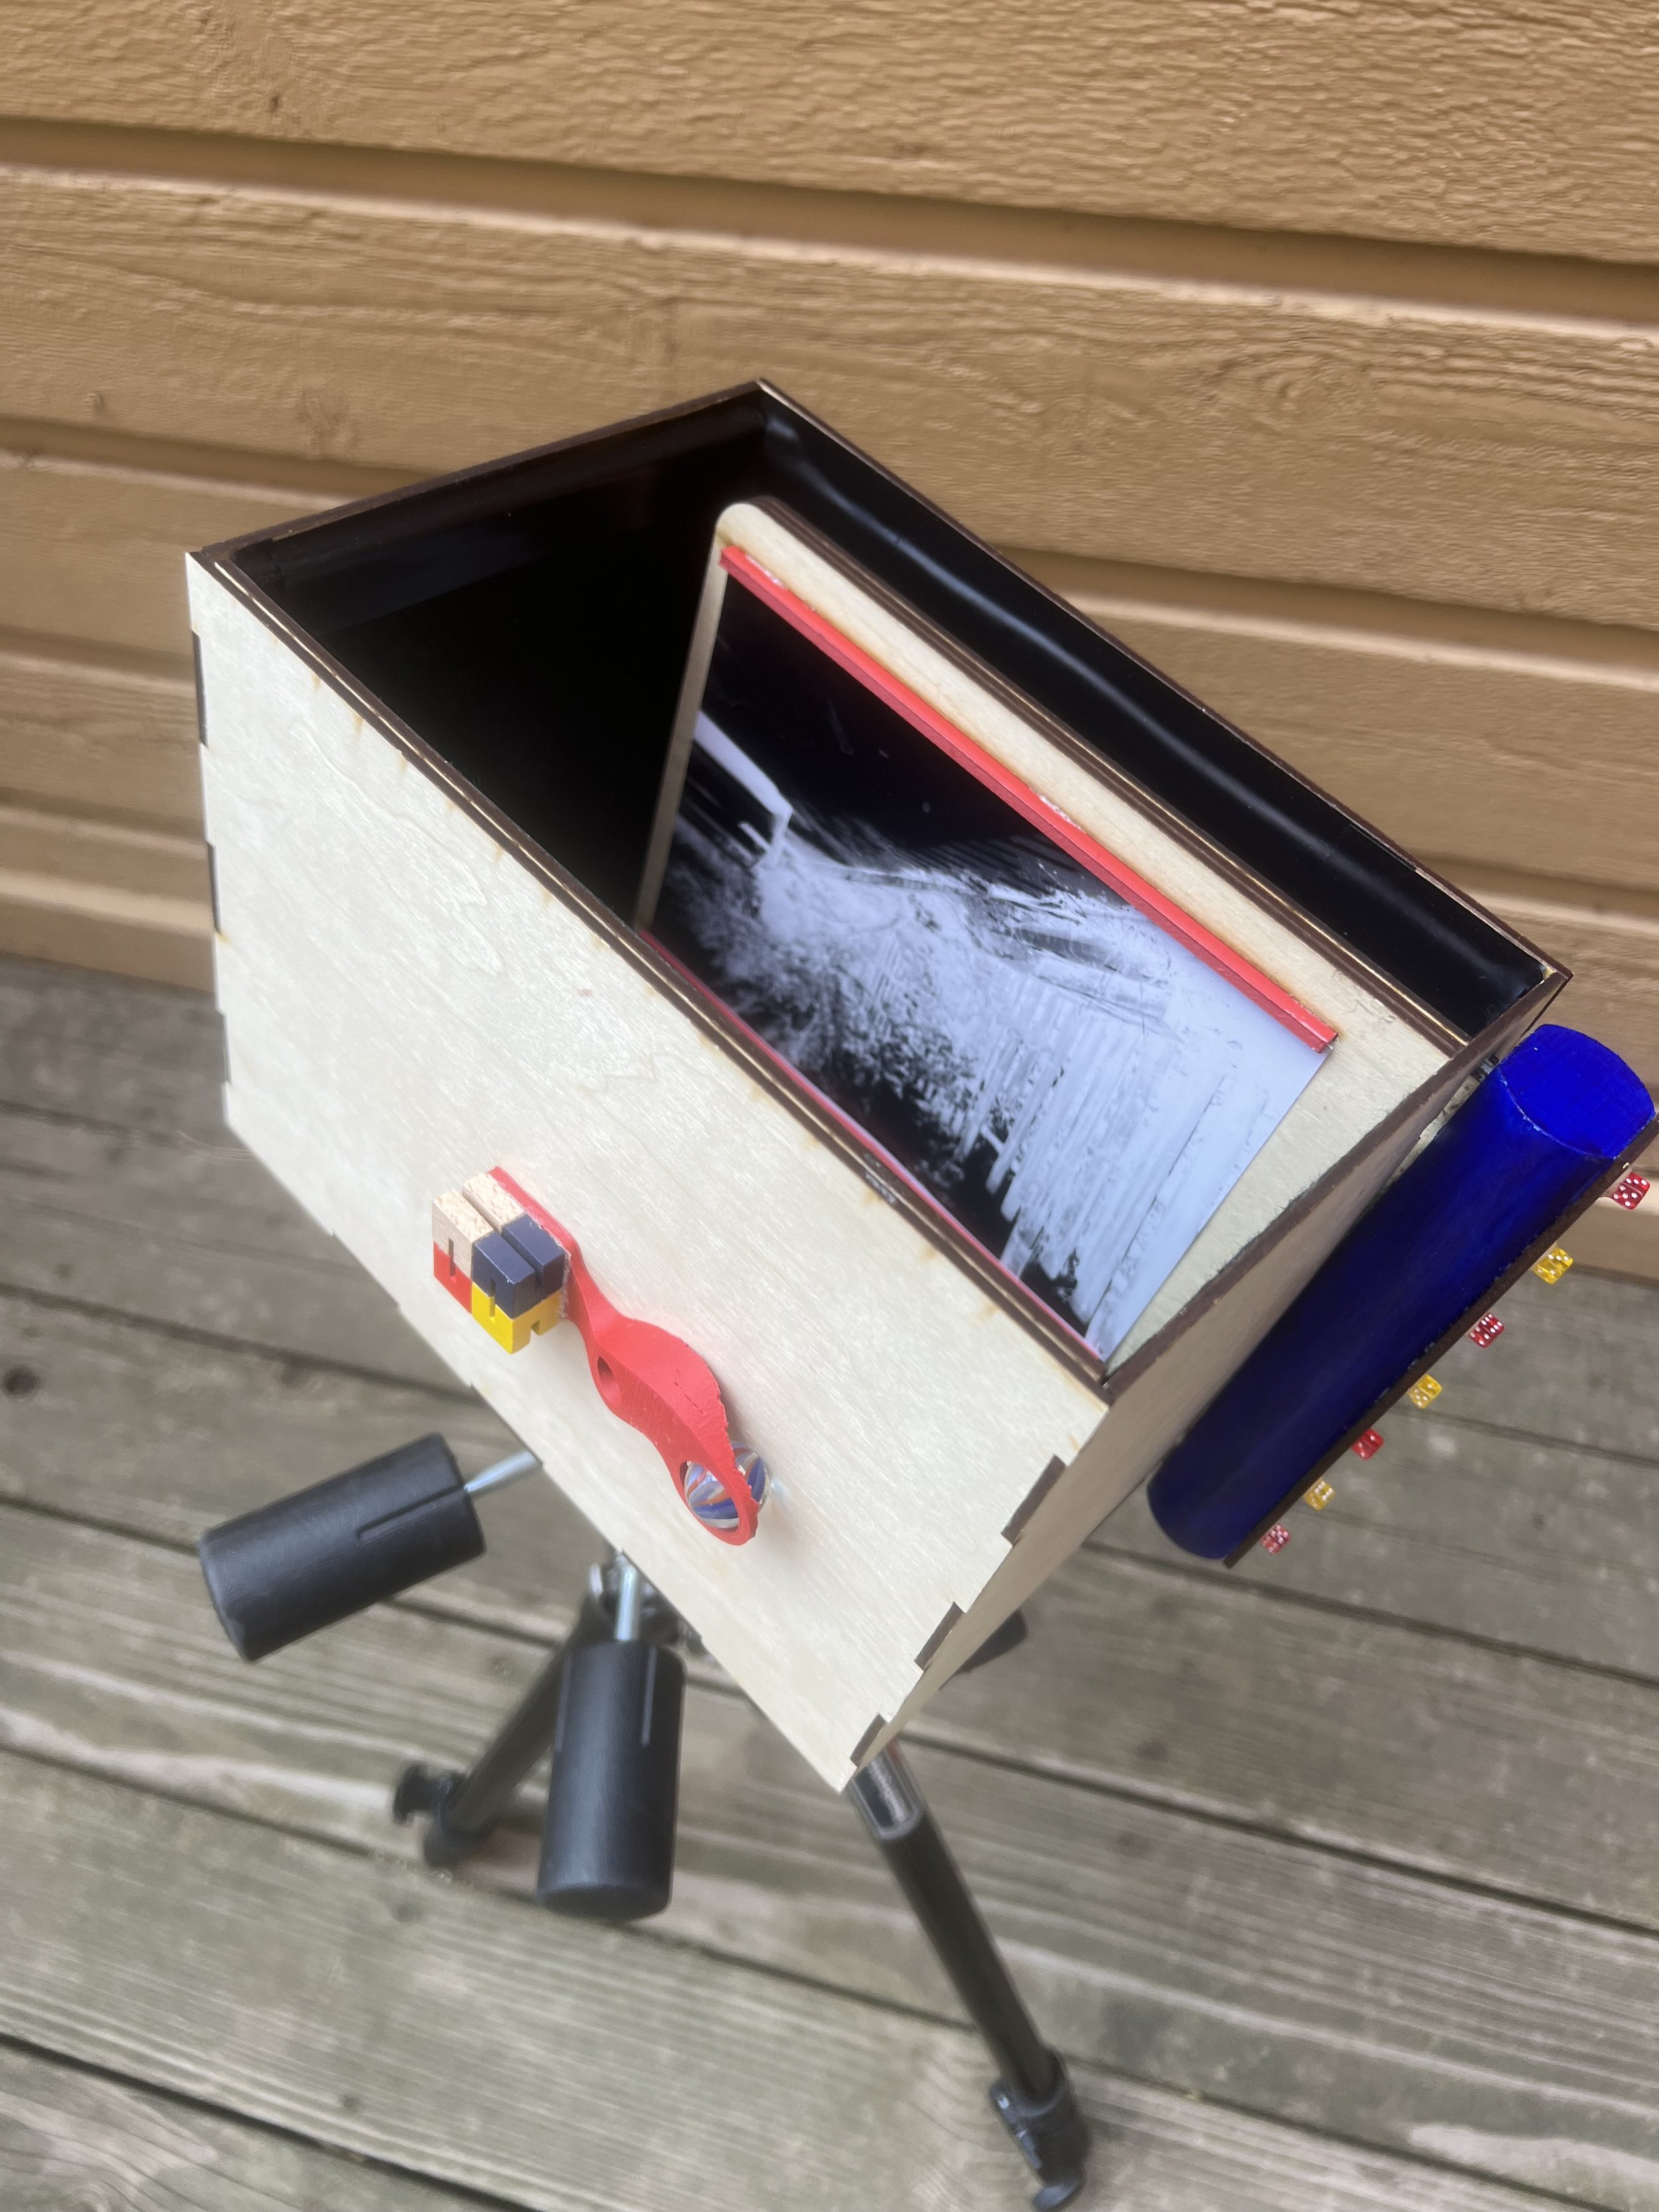
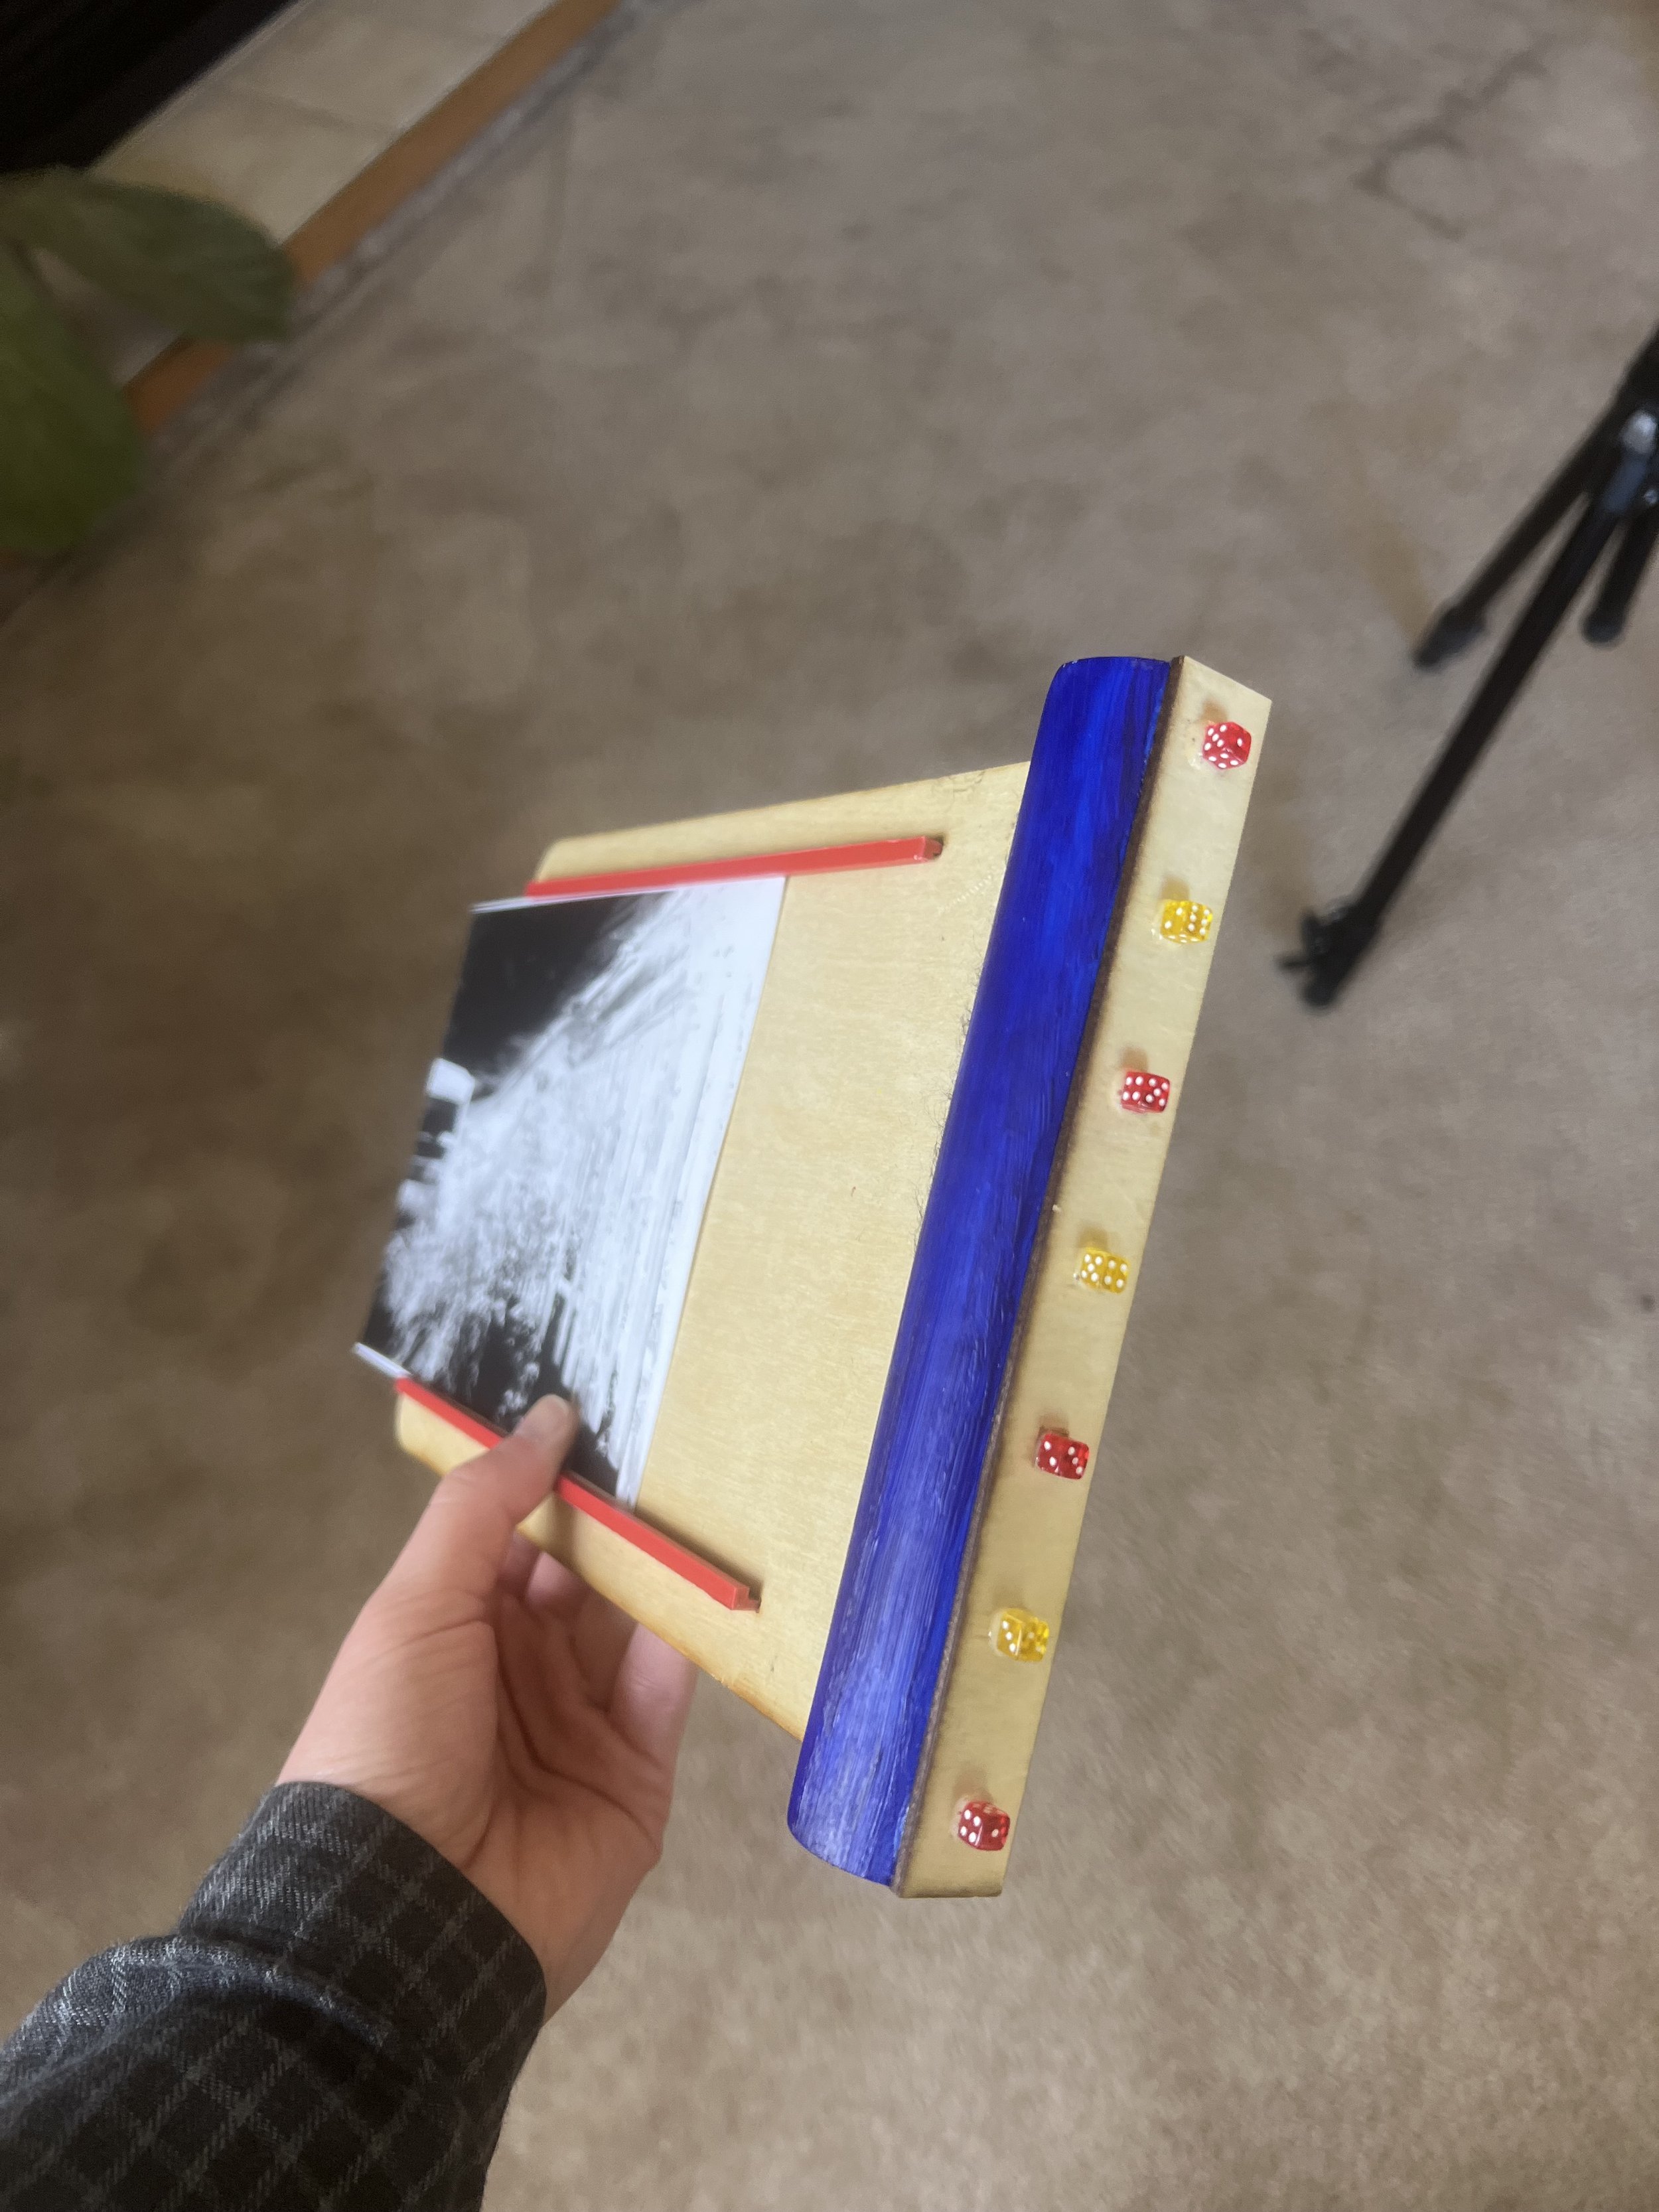
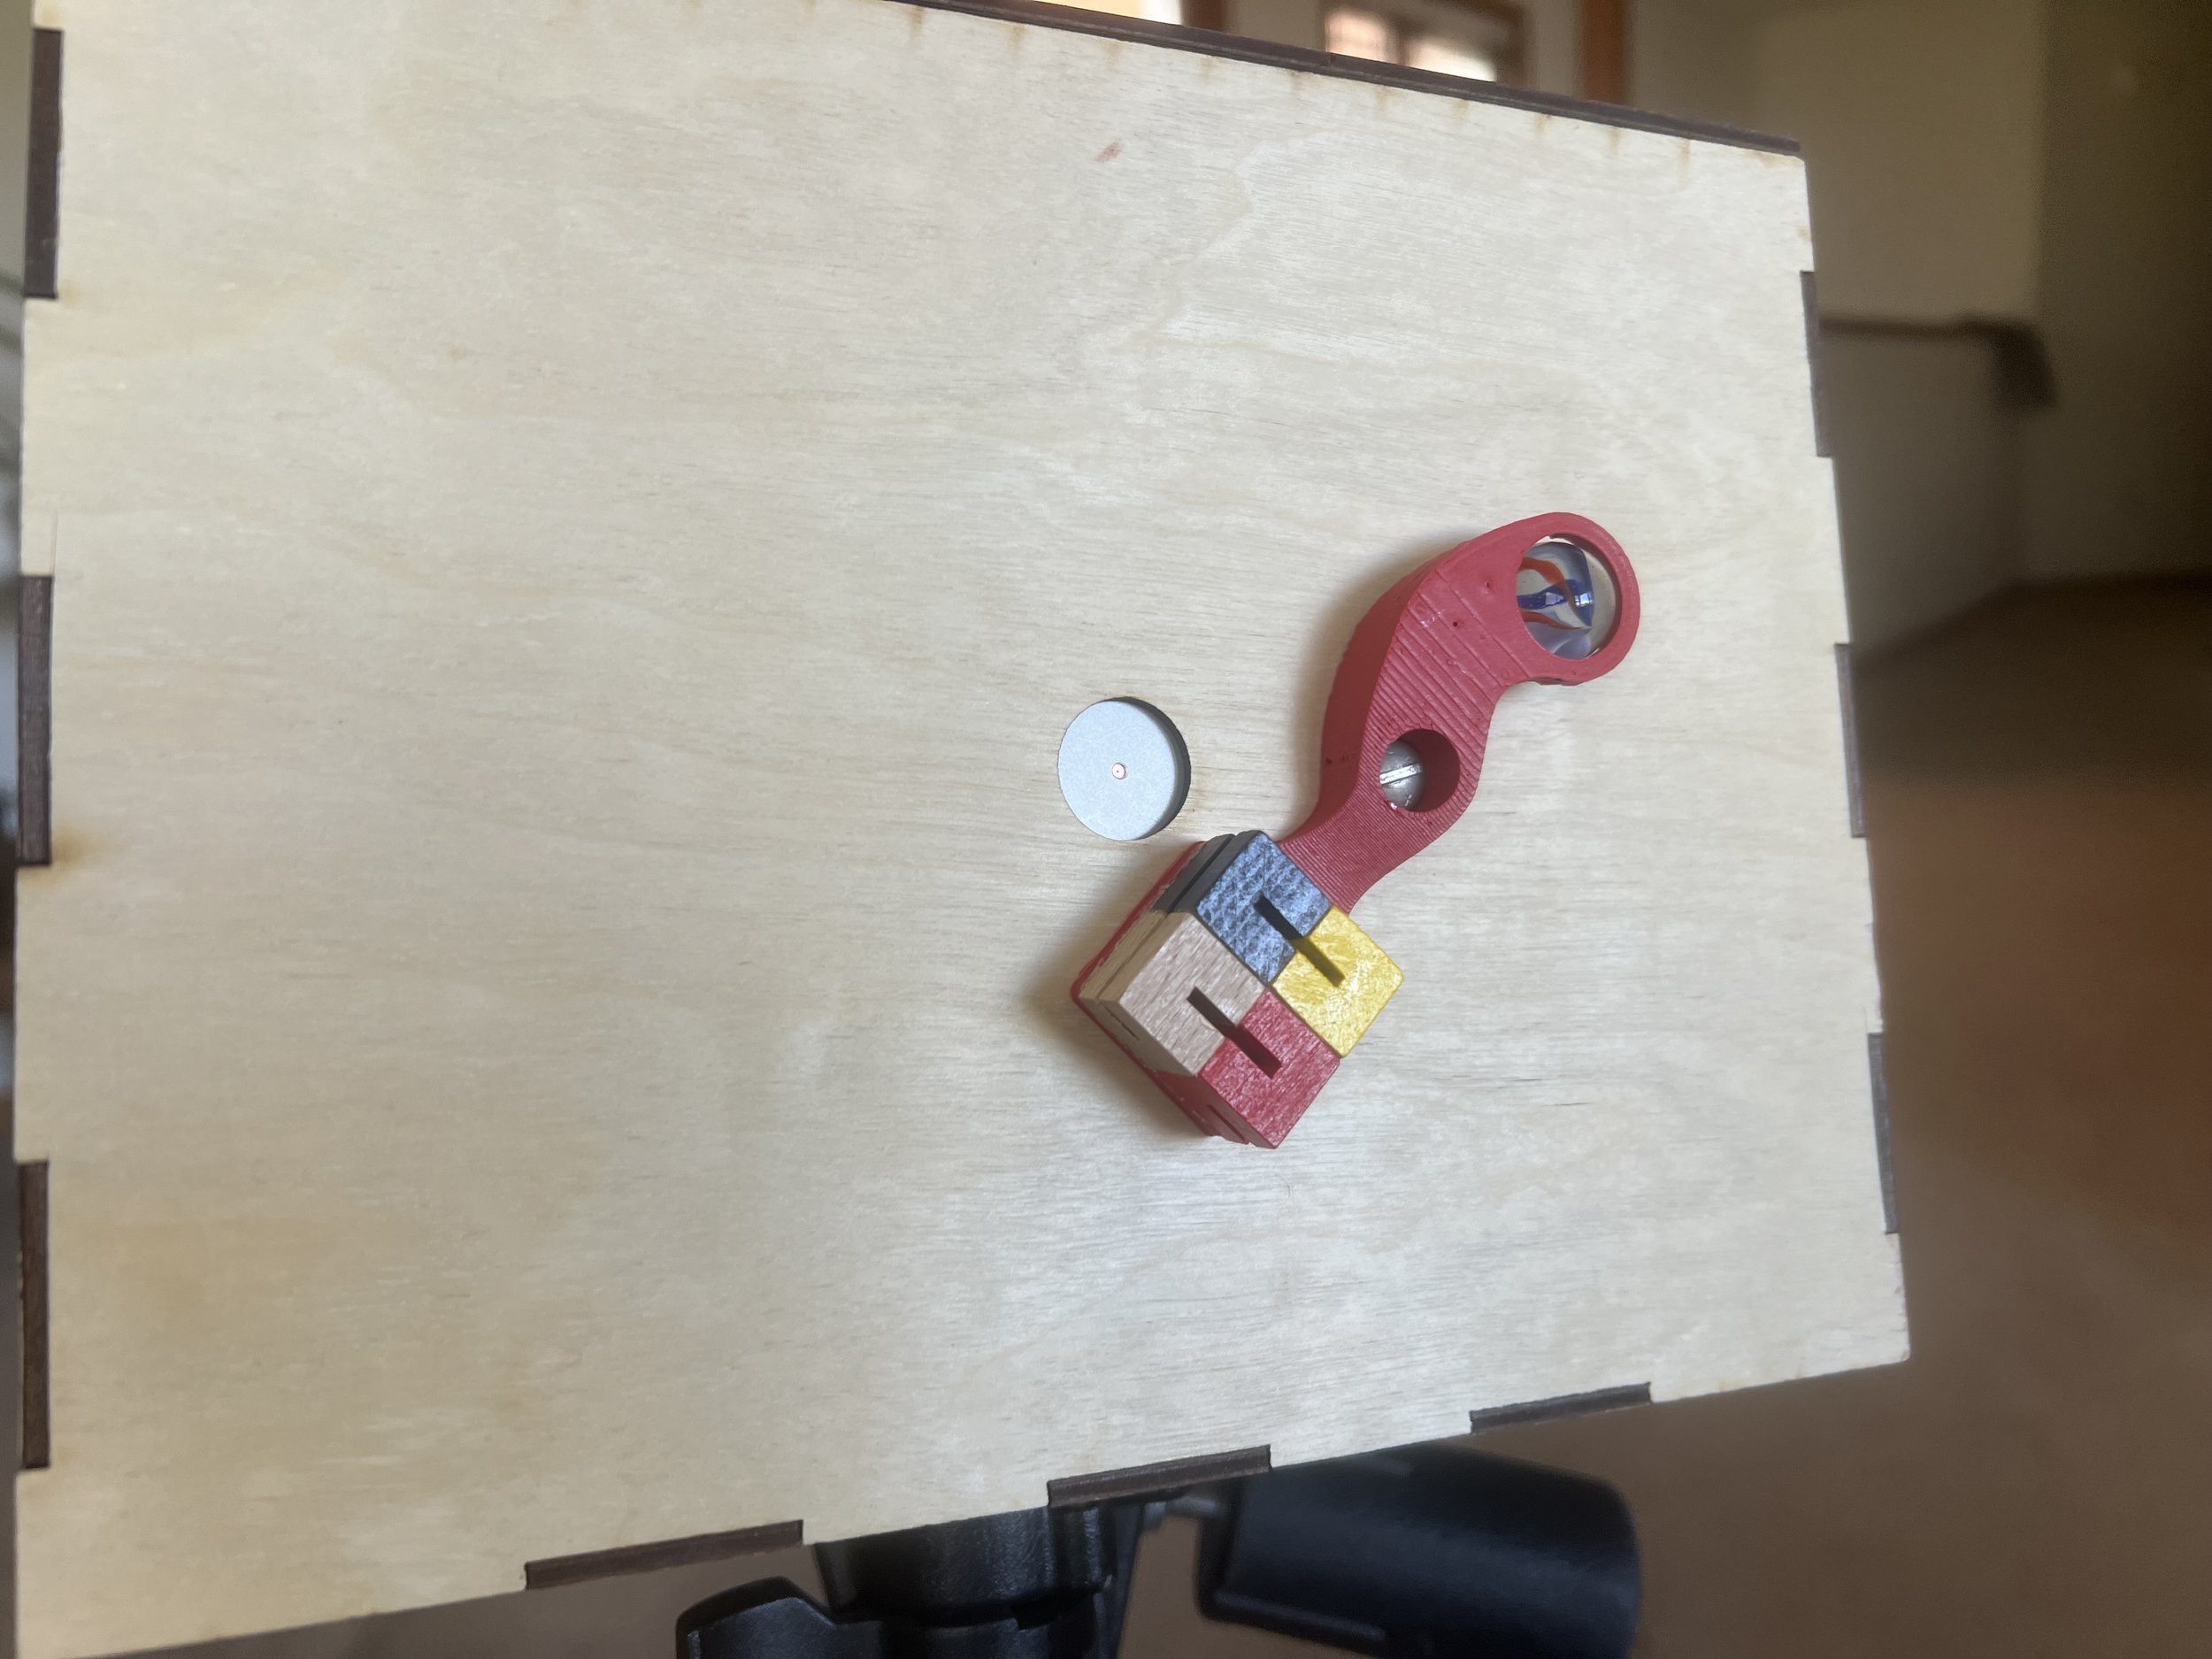
Selected appropriate materials for camera design, like 0.4mm pinhole and Ilford photo paper

Design & Fabrication
Utilized SolidWorks to design camera body and photo paper slide, based around governing focal distance dimension
Gained more experience with prototyping tools through lasercutting wood panels and 3D printing shutter and other components
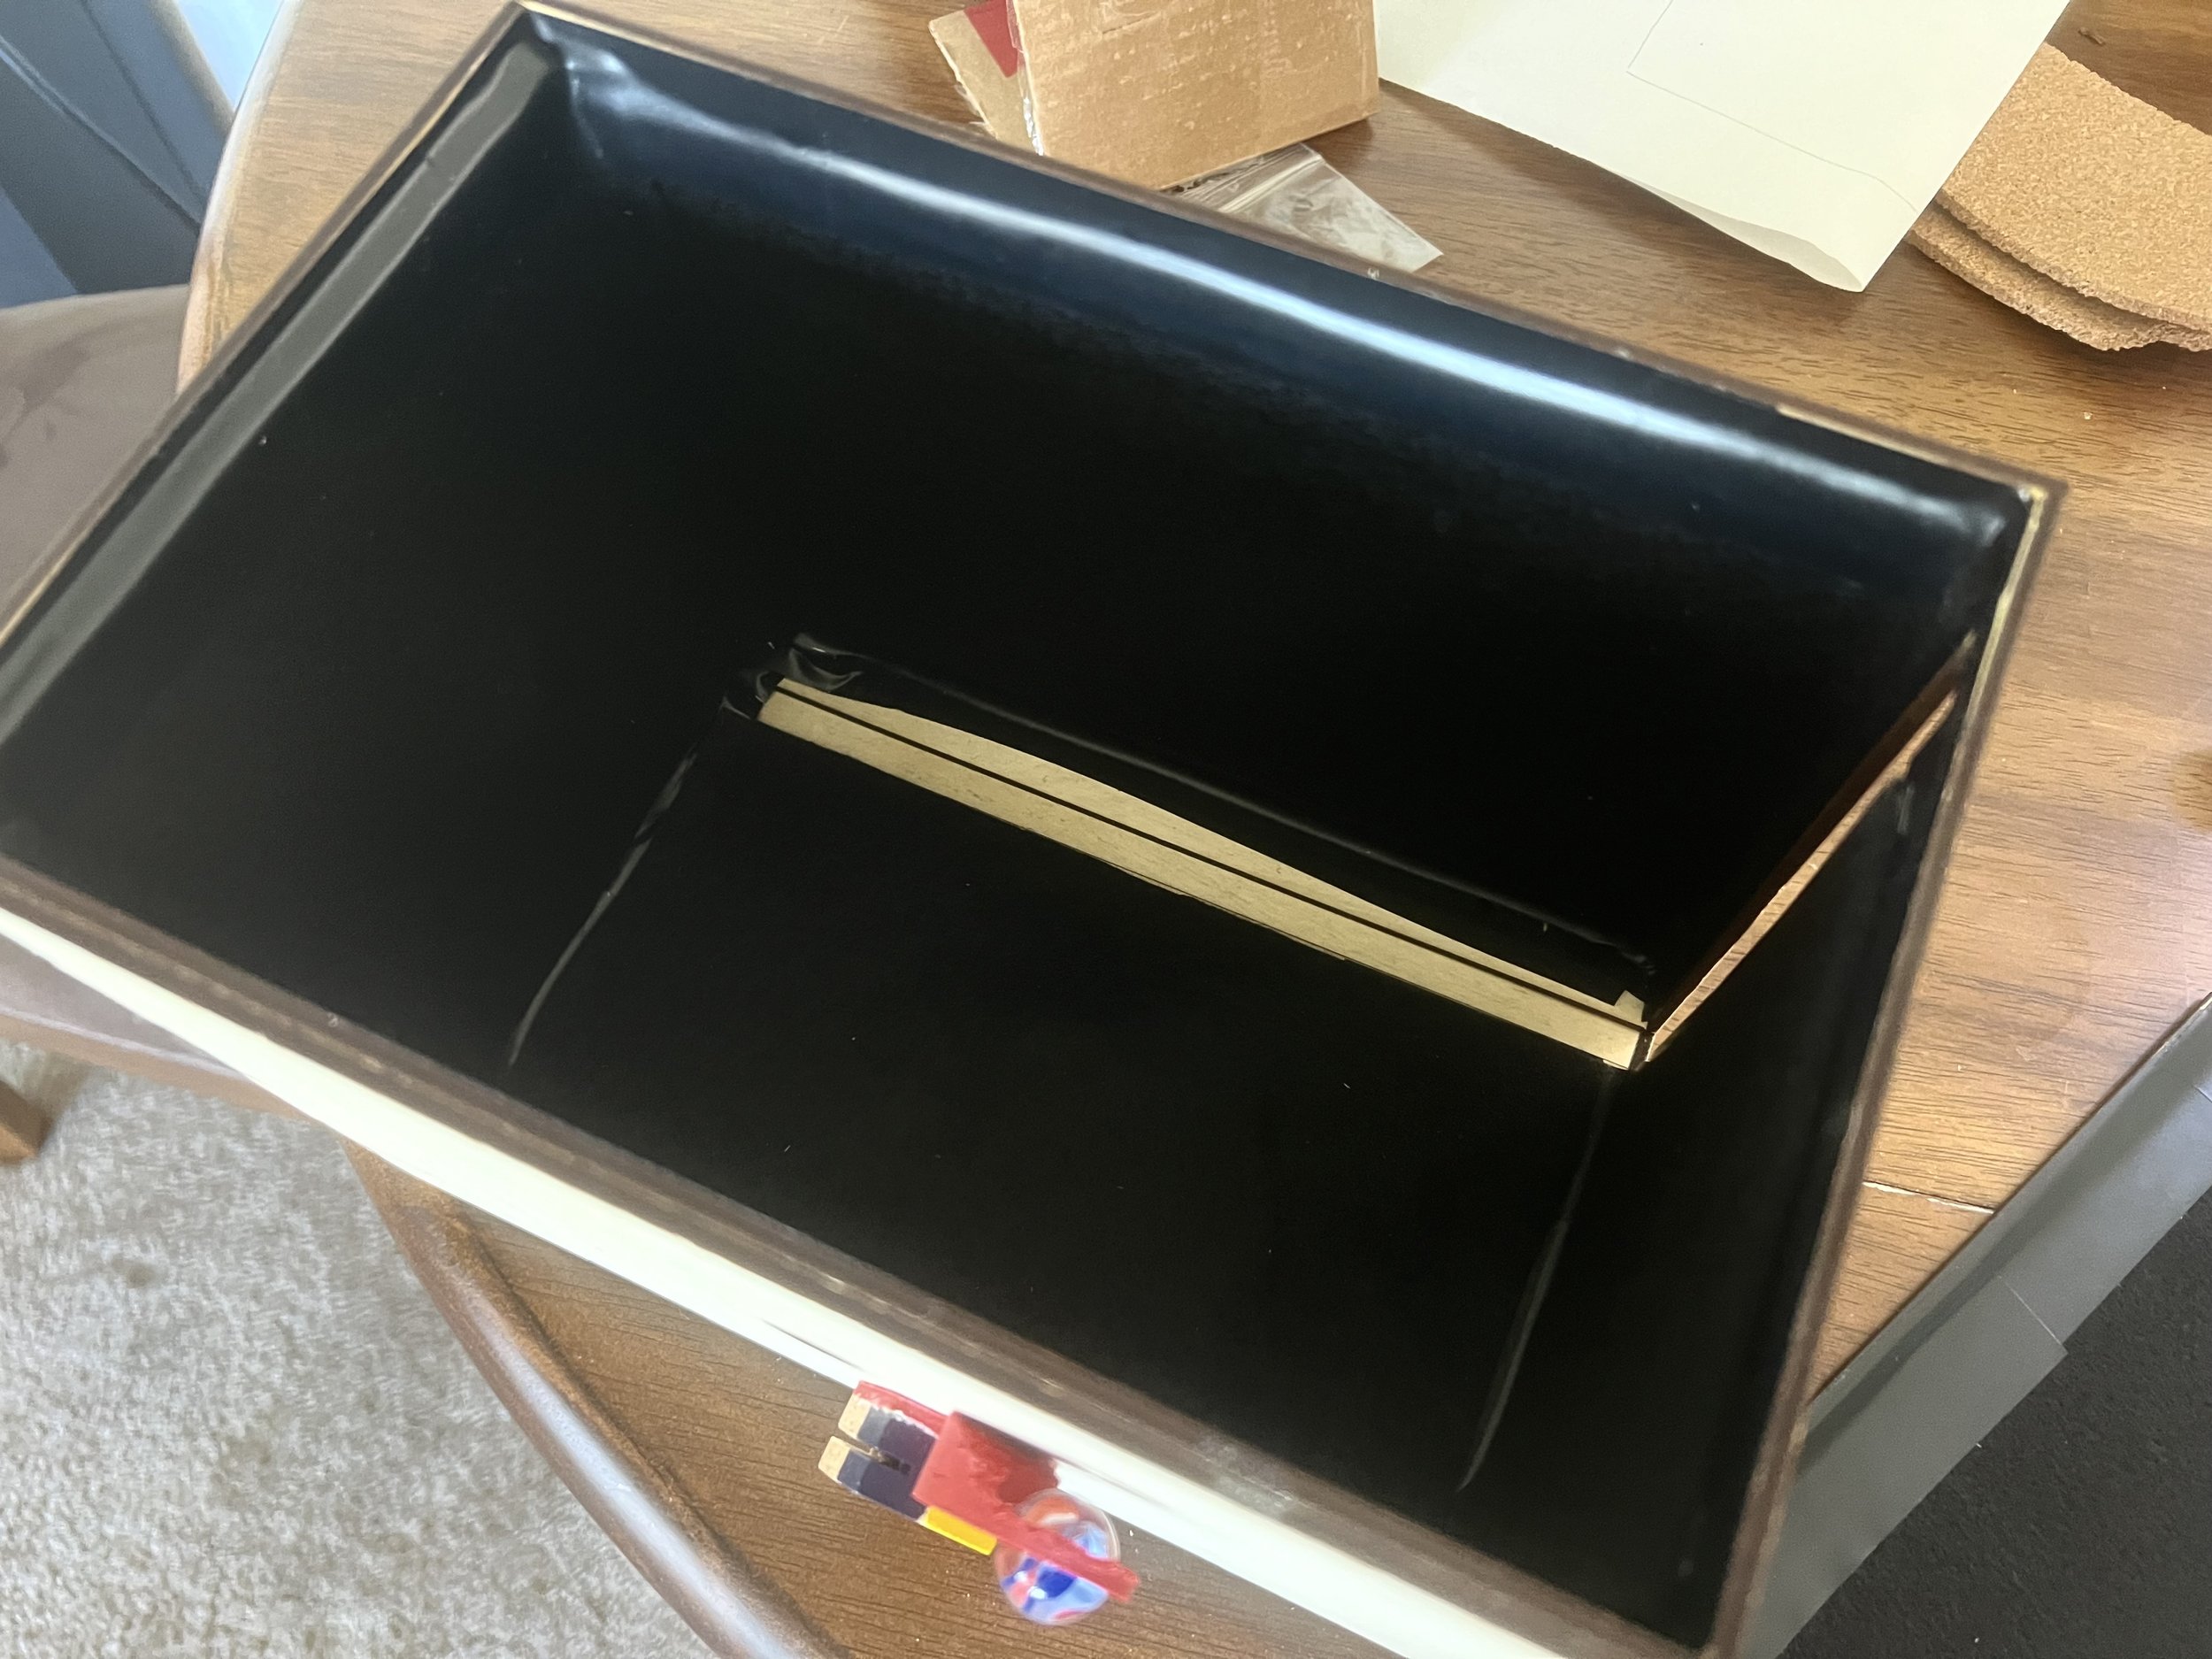
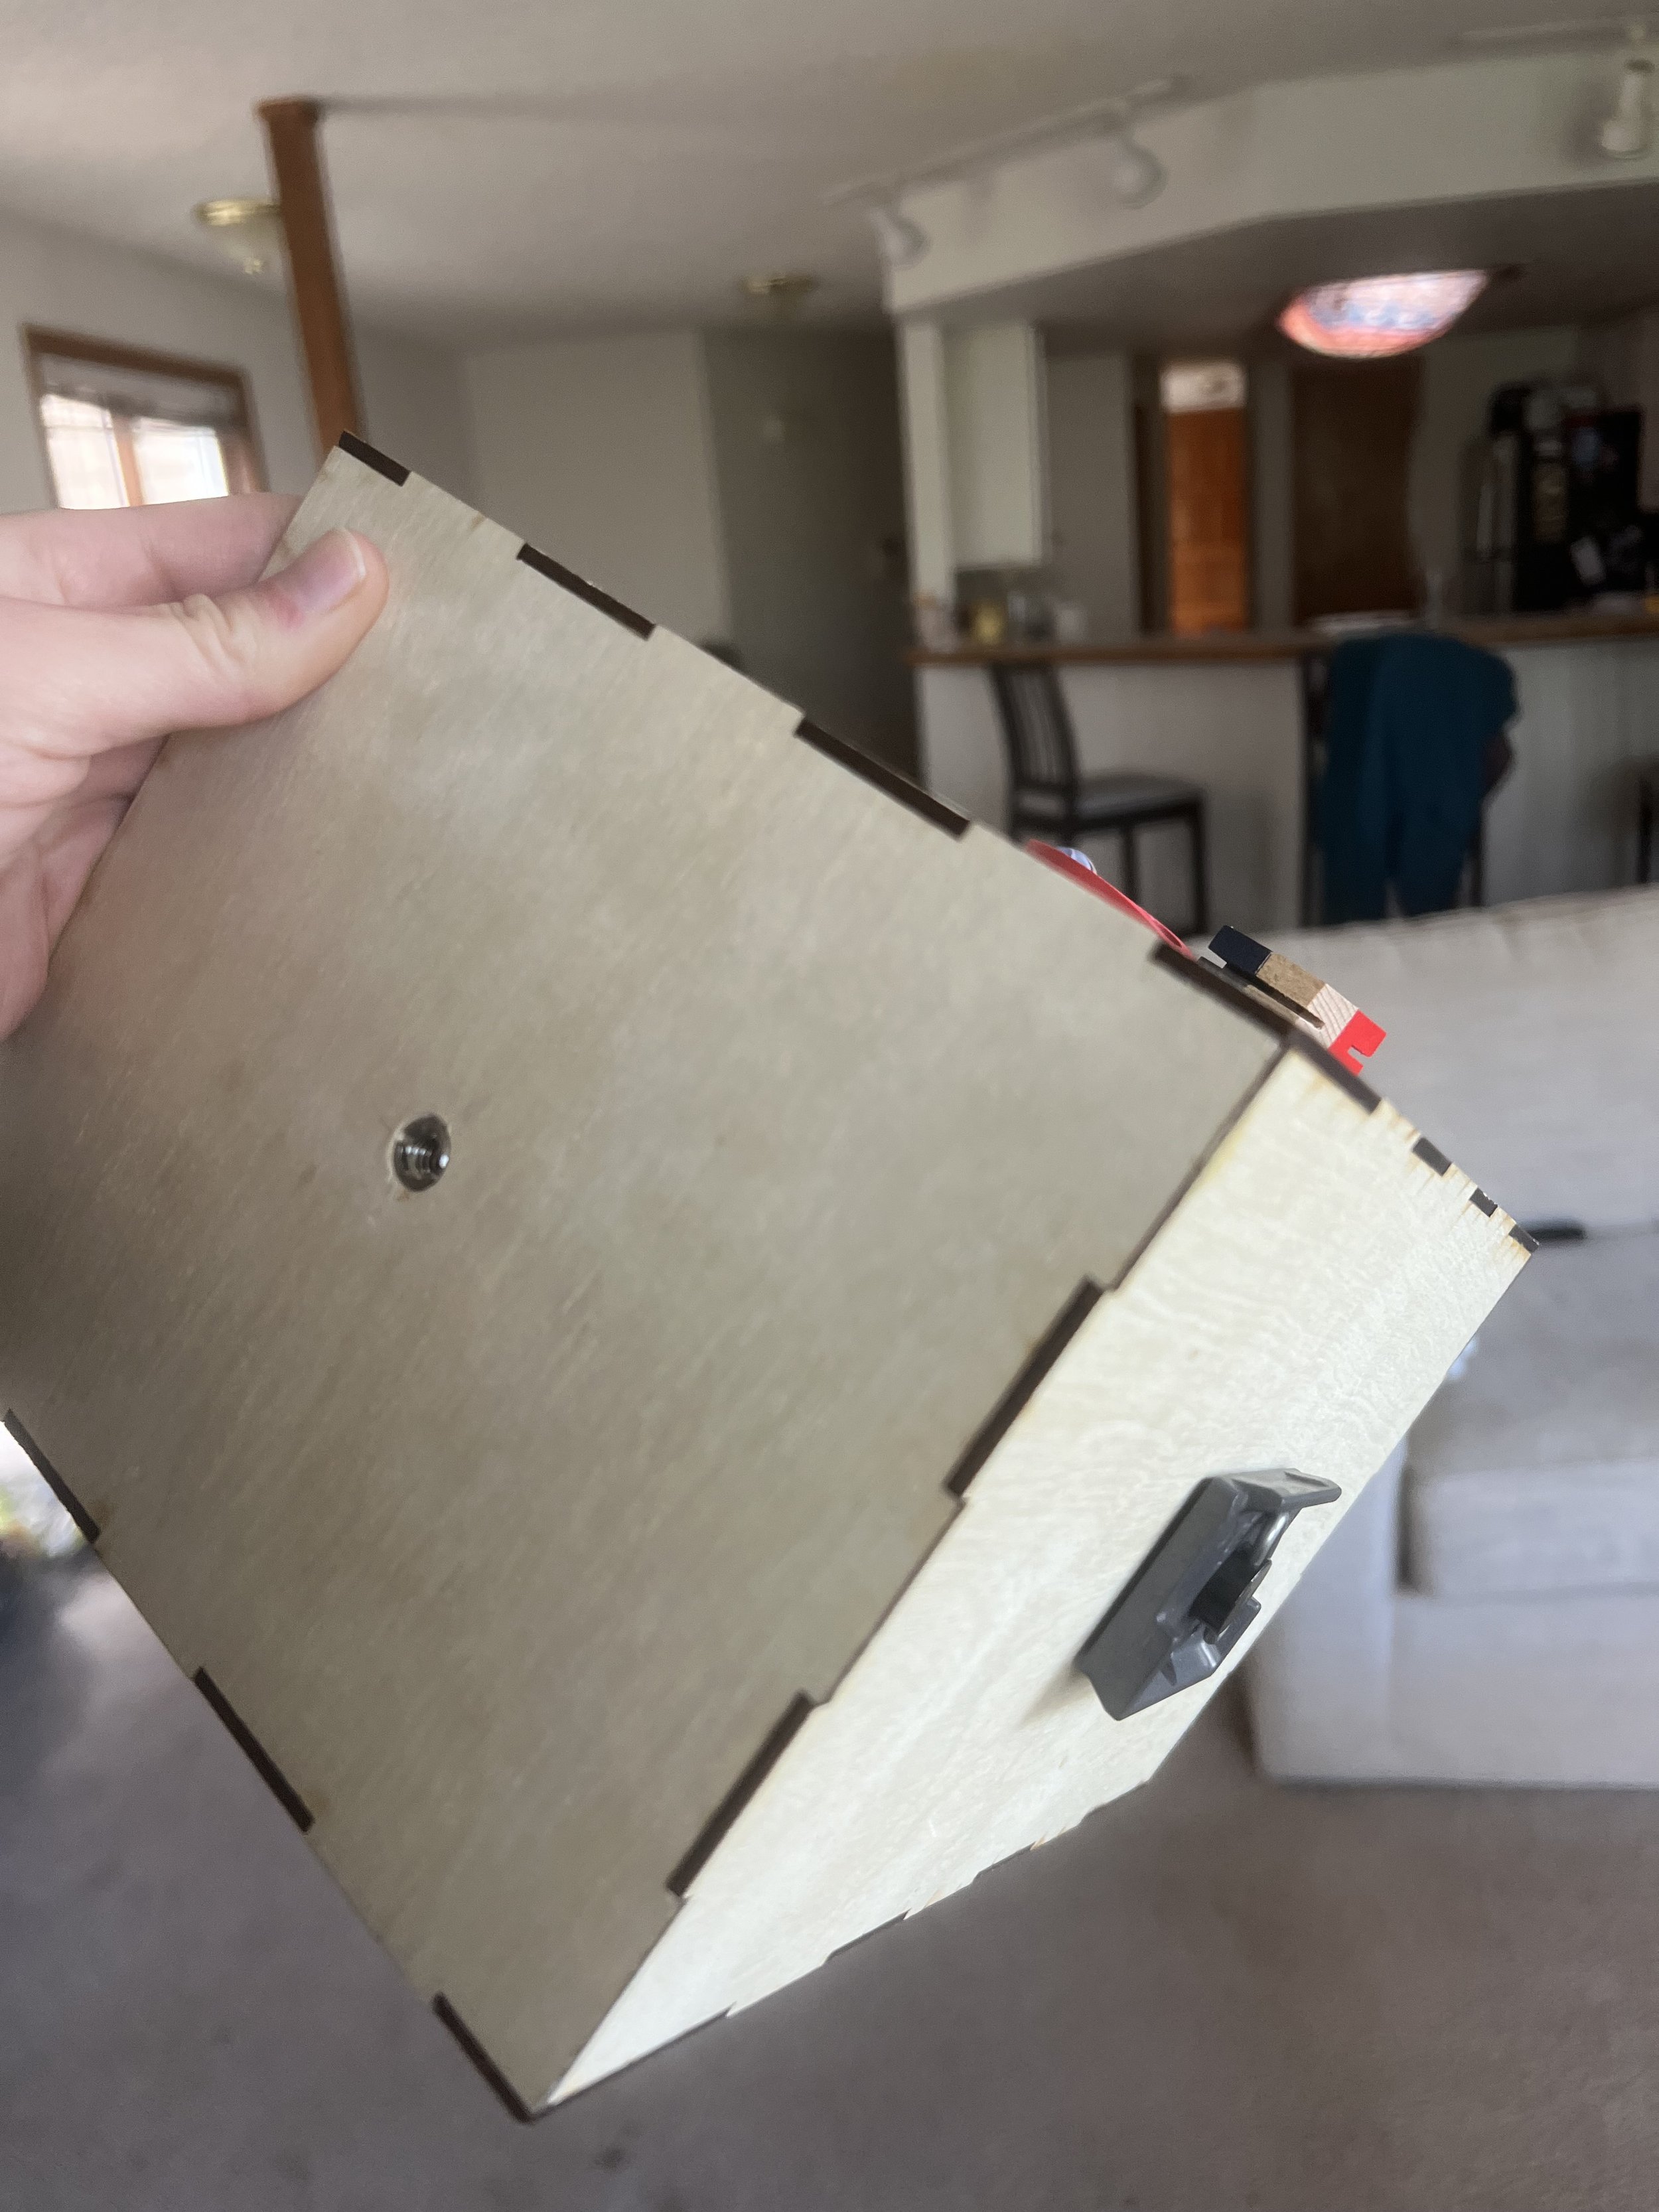
Lined inside of camera body with vinyl tape and black felt to ensure a light-proof box for image capture
Installed threaded inserts to allow for tripod plate compatibility in portrait and landscape orientations, which was necessary for characteristically long pinhole exposure times

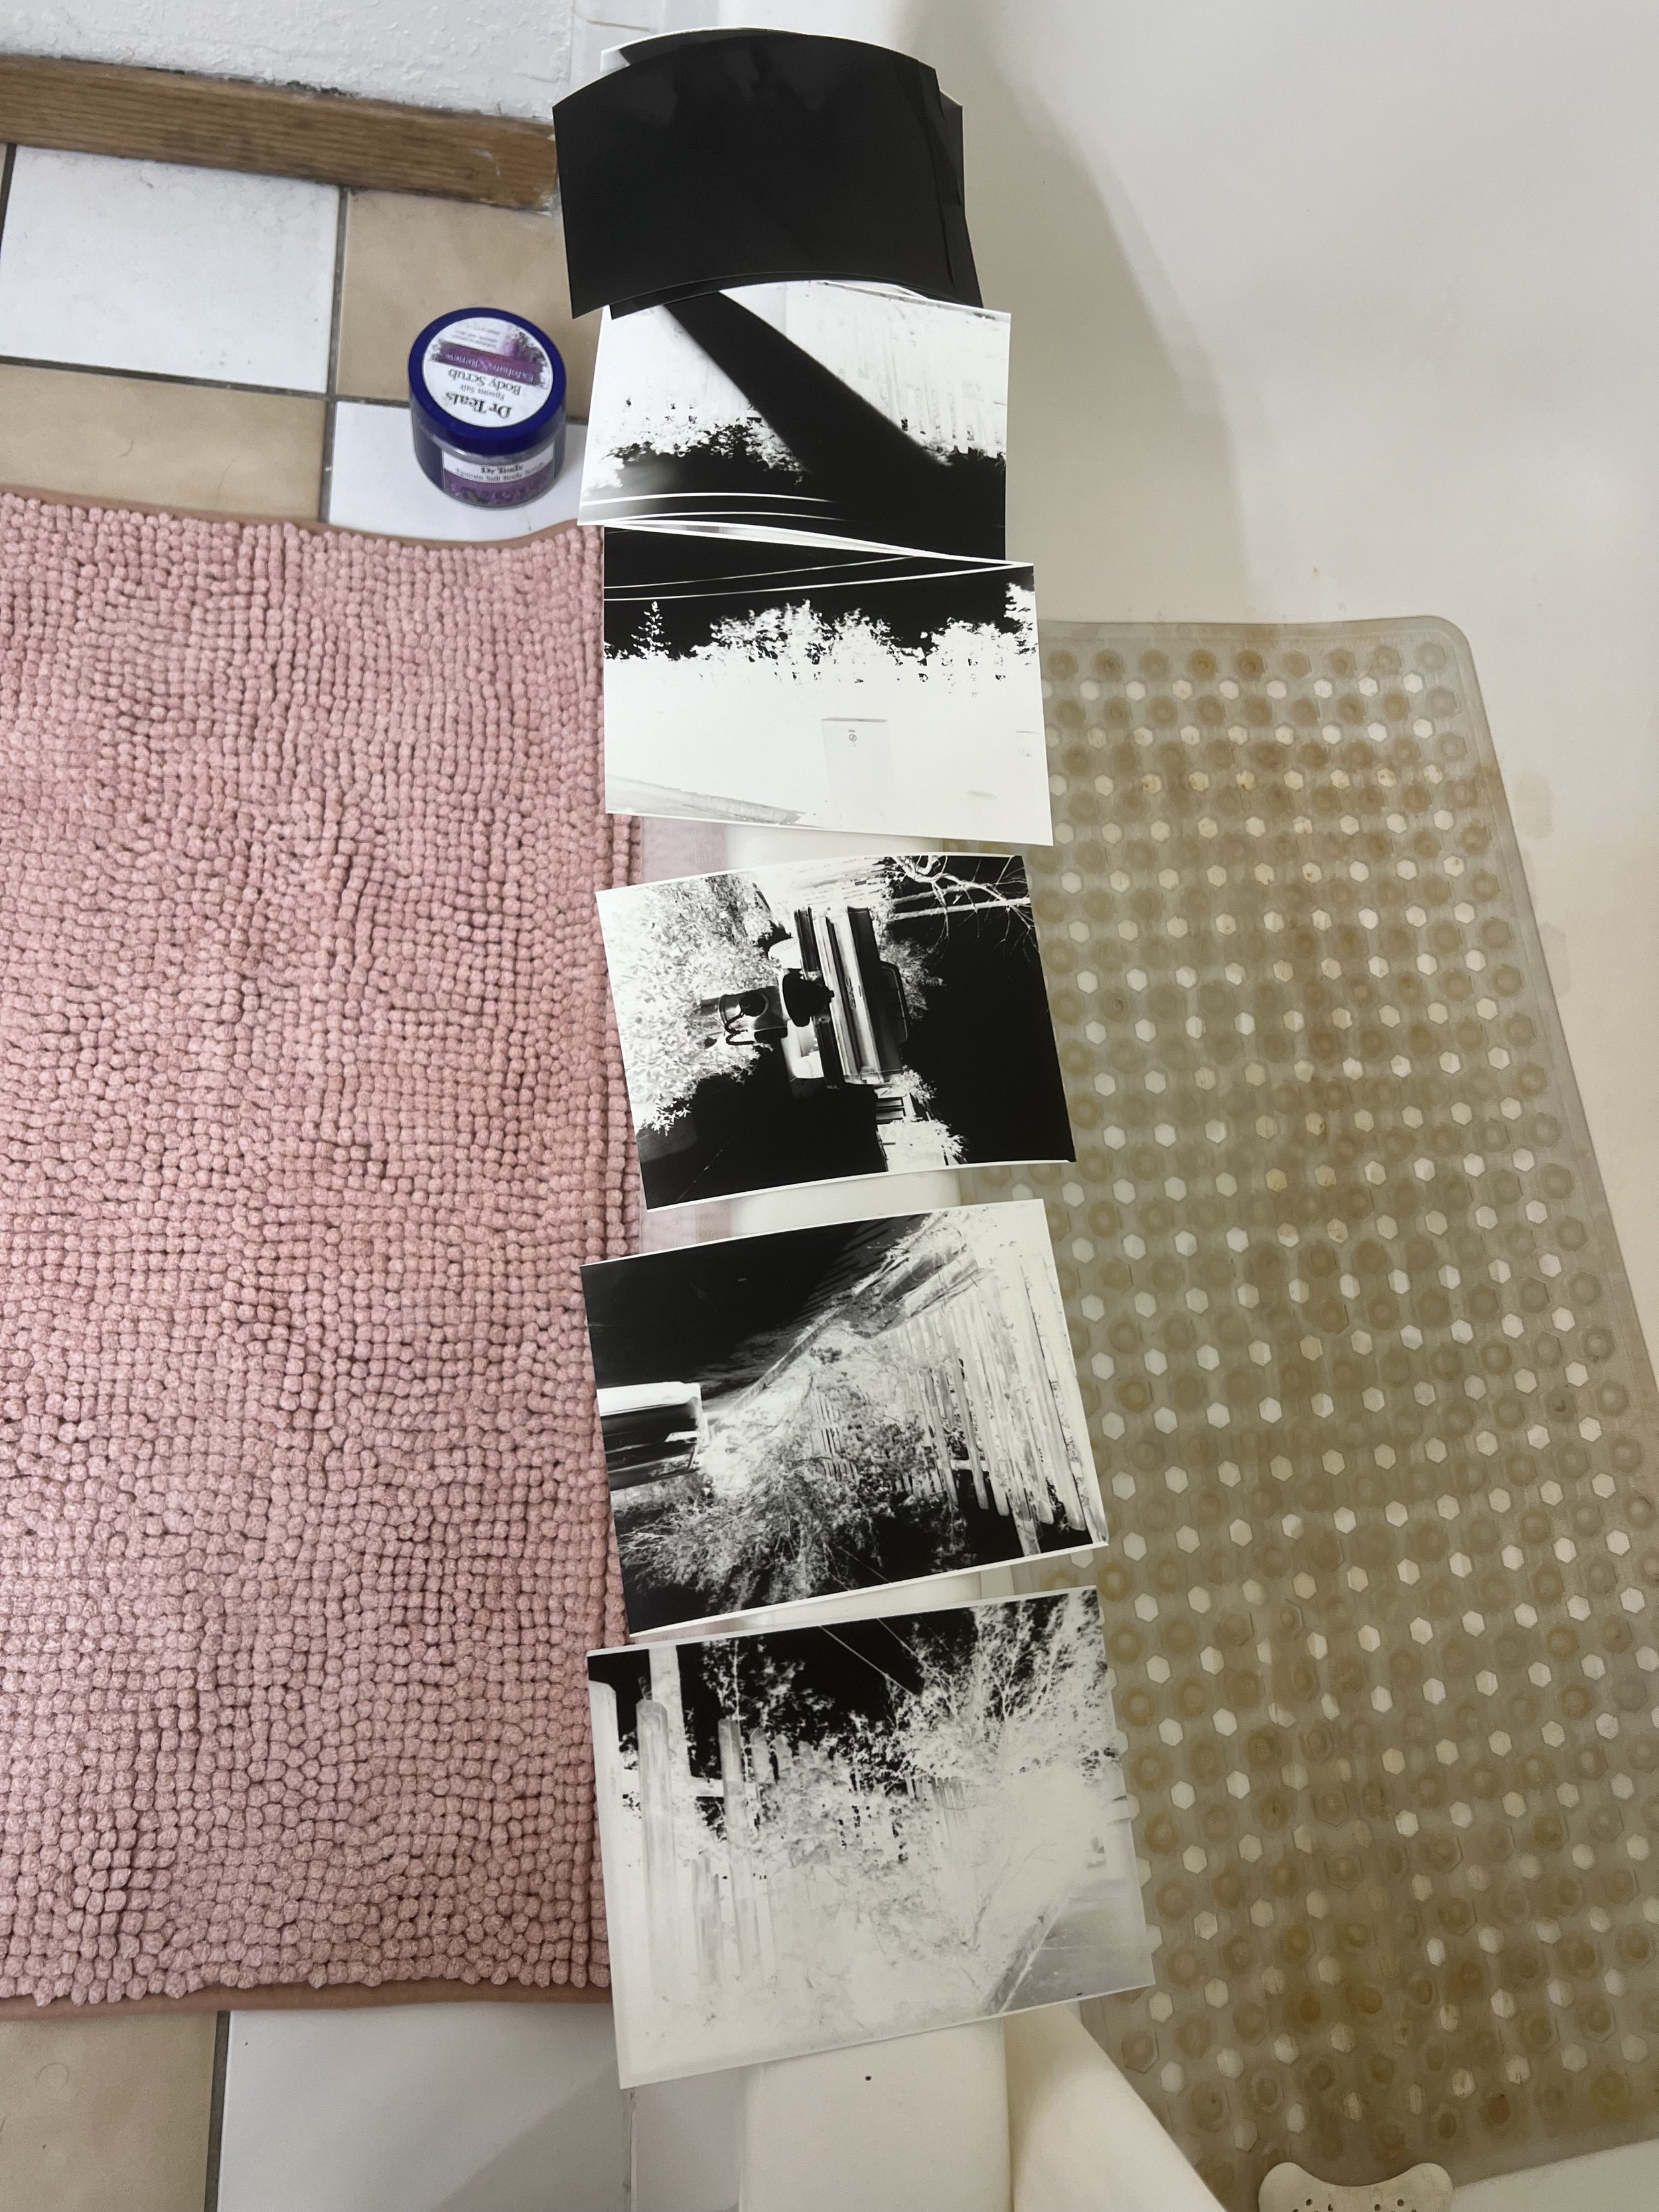
Capturing & Developing Pictures
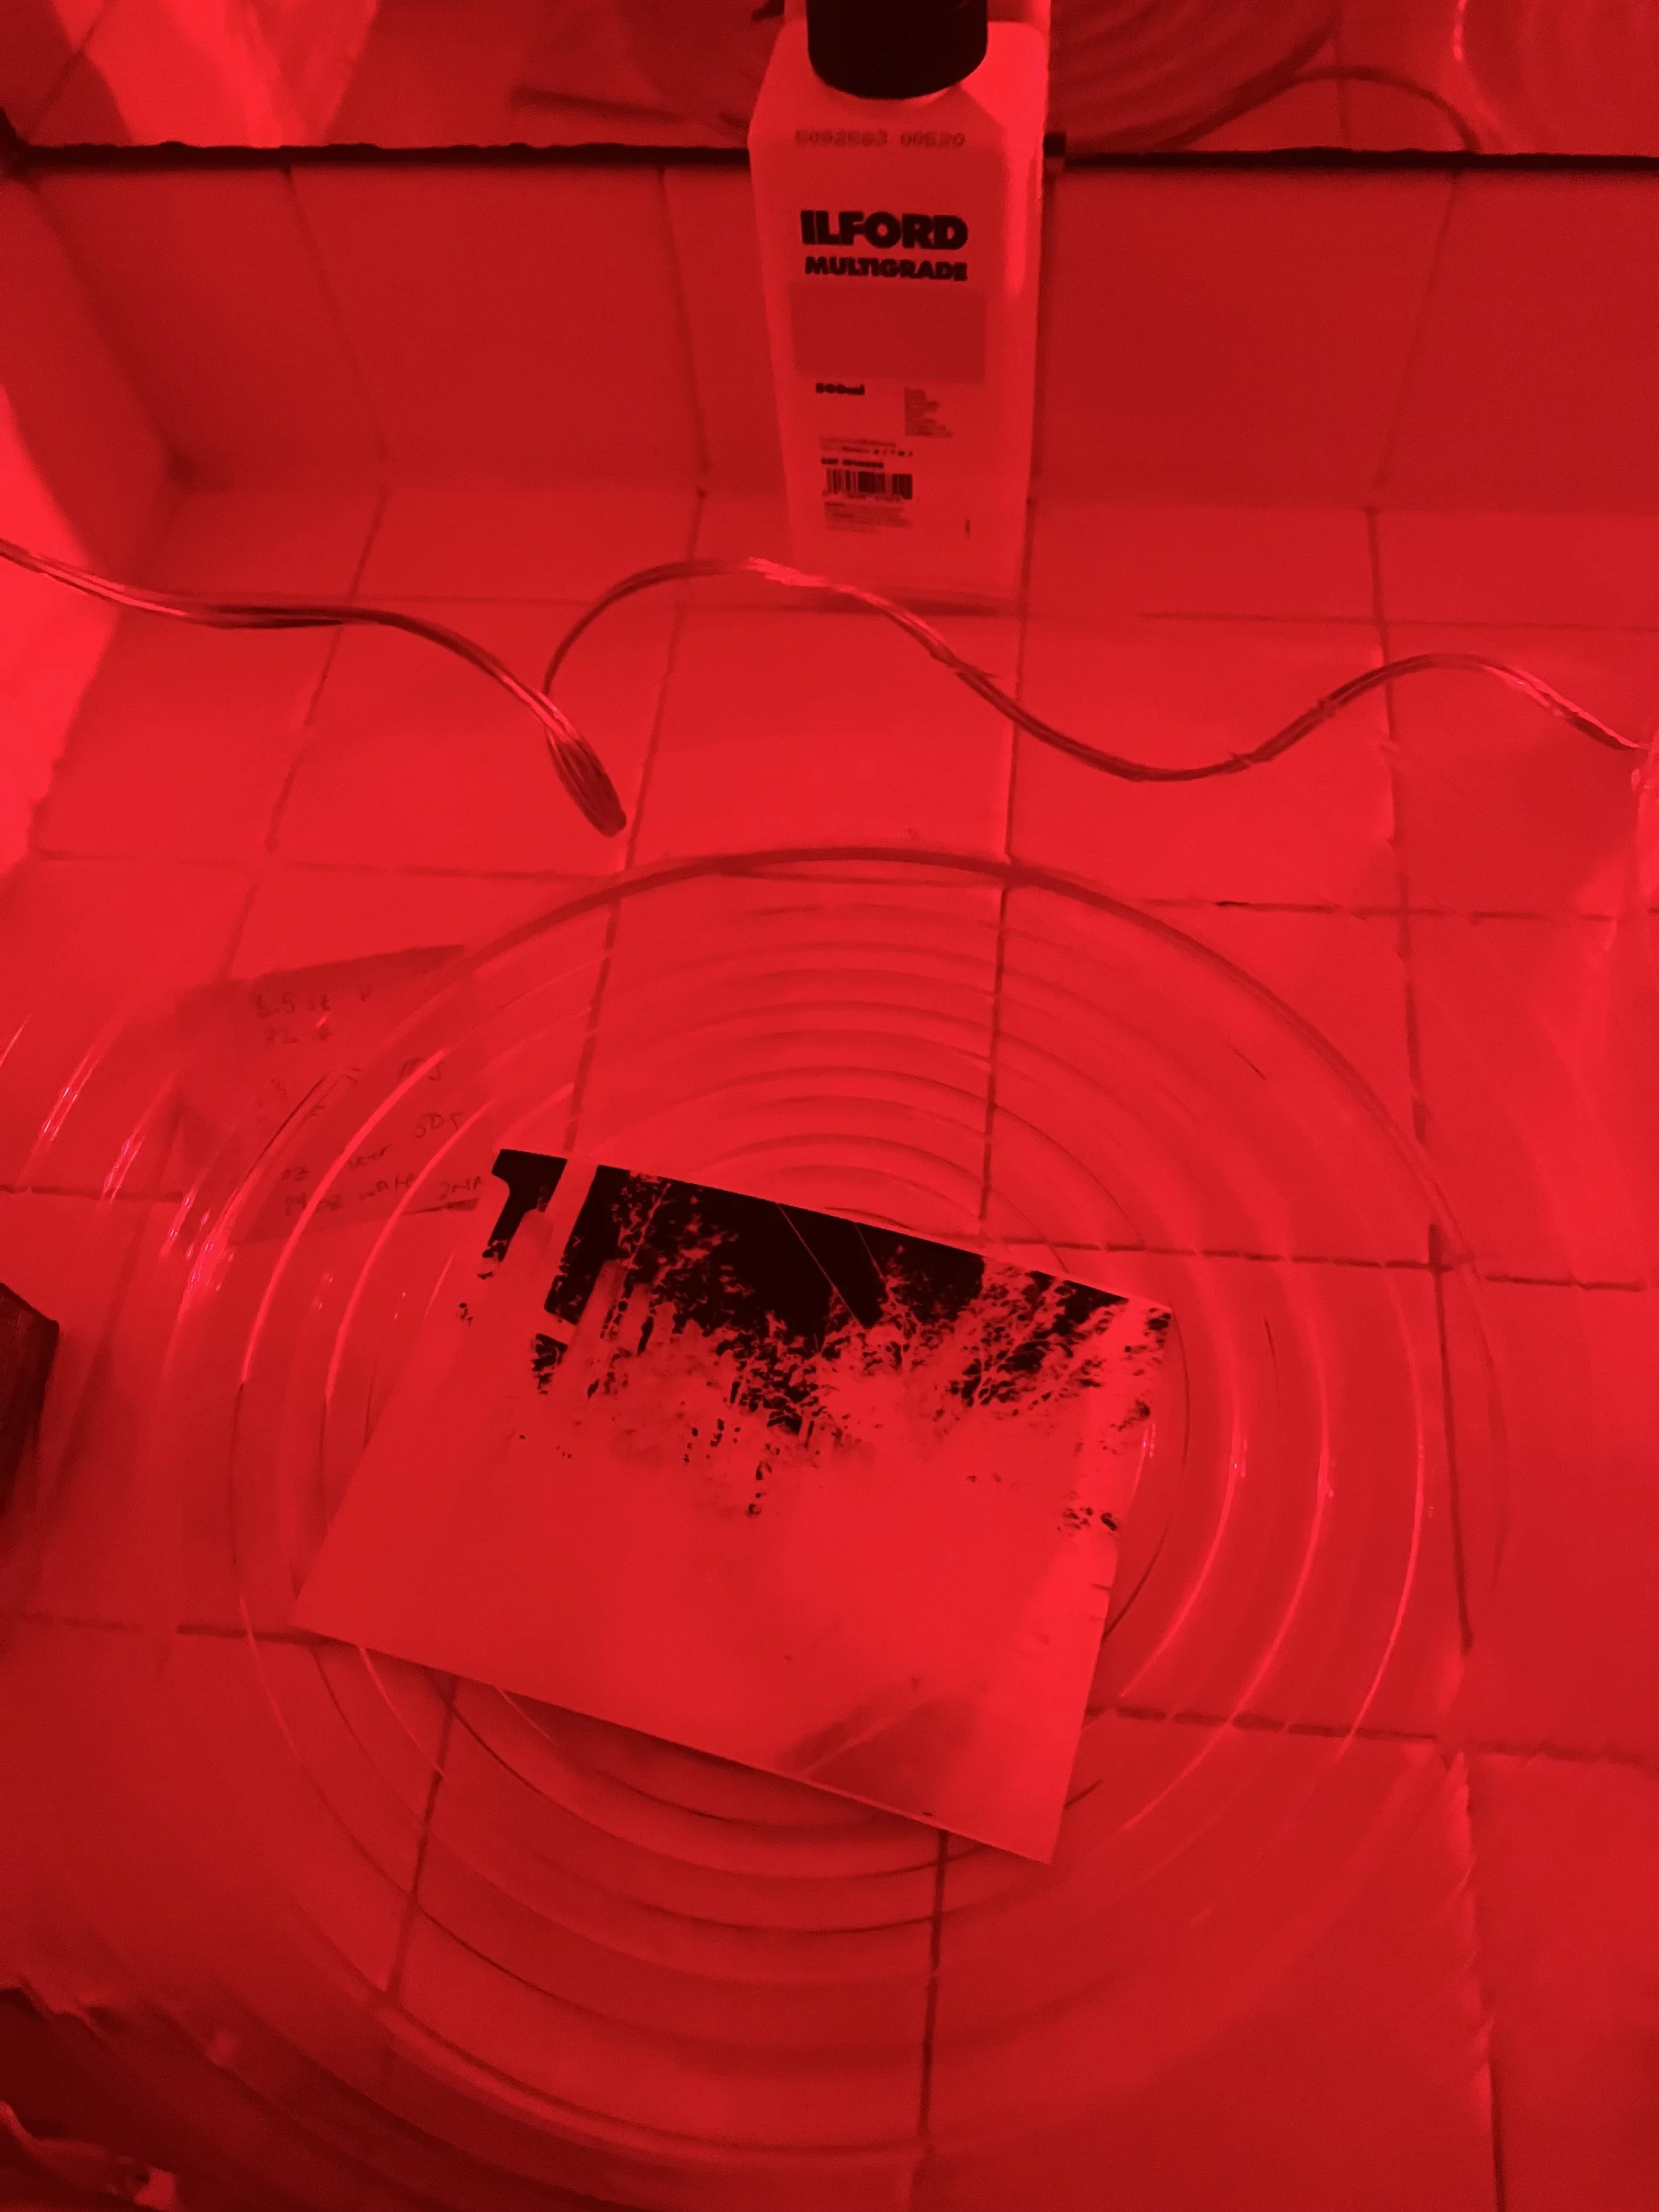
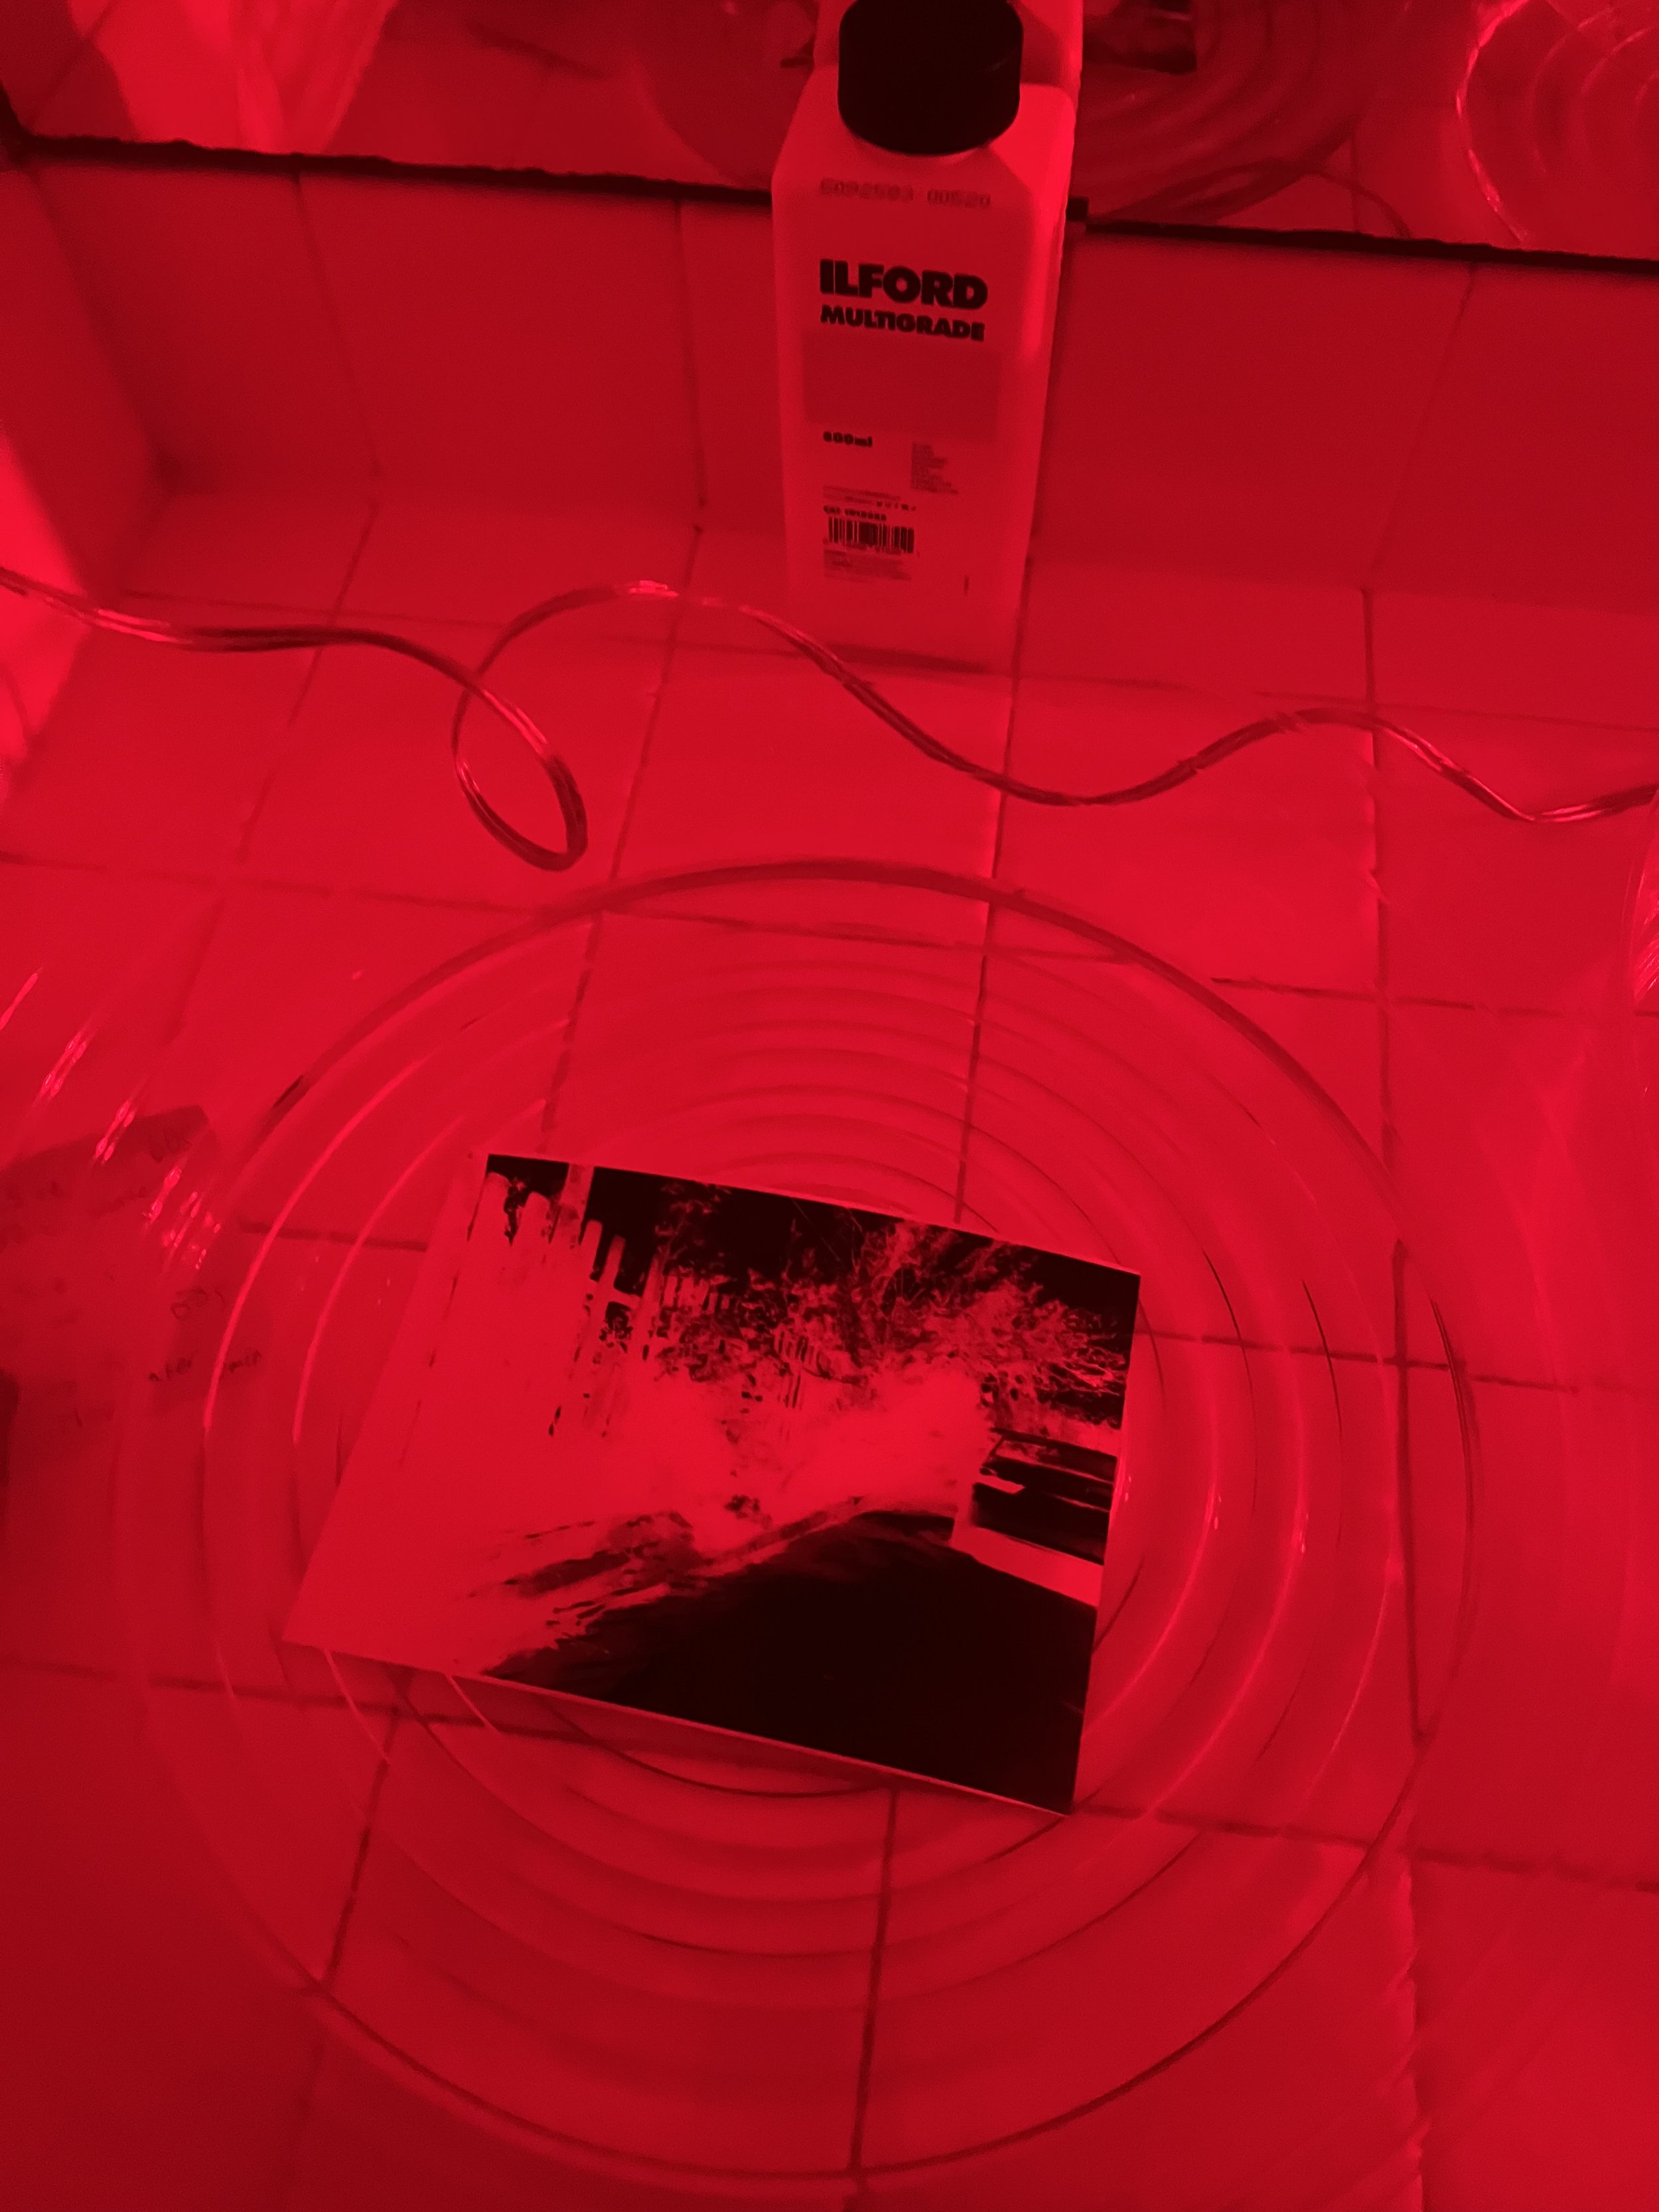
Set up dark room in home bathroom to insert photo paper and develop image negatives with develop, stop, six, and water chemical baths
Experimented with contact printing but ultimately scanned negatives and inverted in Lightroom to get positive images


Future Steps
Build automatic mechanical shutter inspired by wind up toy mechanisms
Redesign camera body and film slide with DFA in mind (use back camera body as image plane rather than a separate film slide)
Continue to experiment with exposure times and taking pictures!